Introduction
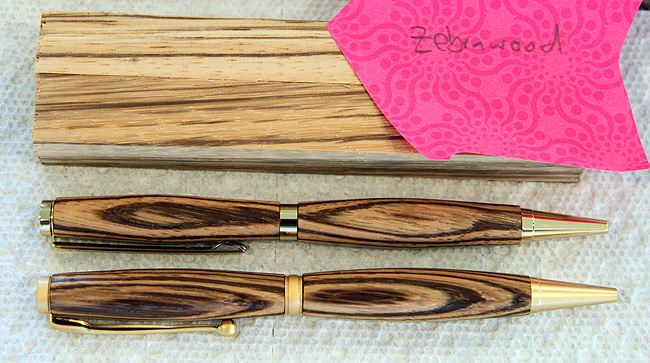
This gives an overview of the process by which I make wooden slimline pens! I use 4 major steps in the process: (1) preparing the pen blanks, (2) turning (or shaping) the blanks on a lathe, (3) sanding and applying a finish, and (4) assembling all the pieces. I have found it streamlines the process to create pens in batches and overall it probably takes me about 1.5 hours to make each pen; but that continues to decrease as I gain more experience. Below is a picture of some Zebrawood blanks and finished pens.
Preparing the Pen Blanks
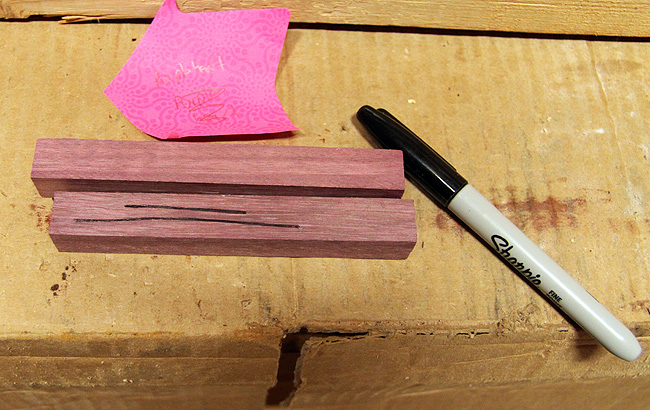
After cutting the blanks to roughly the right size, I draw a line on them to help make sure I keep the grain lined up so when the pen is assembled you can tell the top and bottom part of the pen came from the same piece of wood.
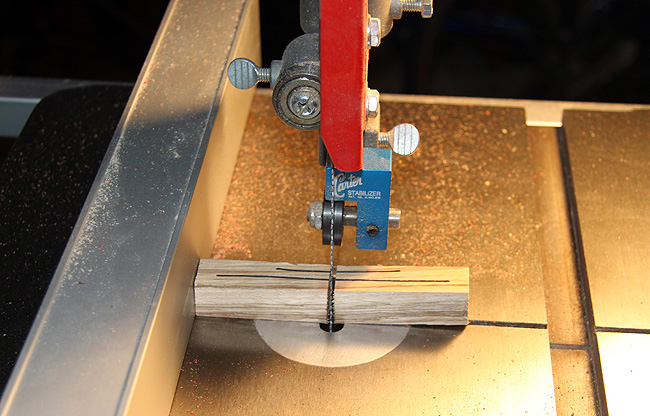
Next I use a bandsaw to cut the top and bottom parts of the pen from the blank.
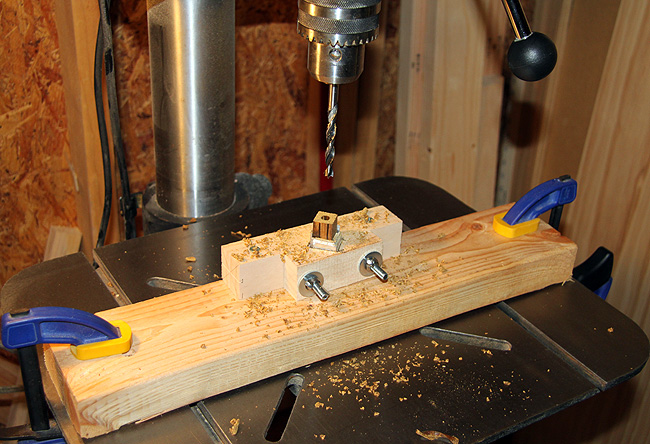
After the blanks are cut I drill a 7mm hole in each of them with a jig I made to keep the blanks aligned and centered.
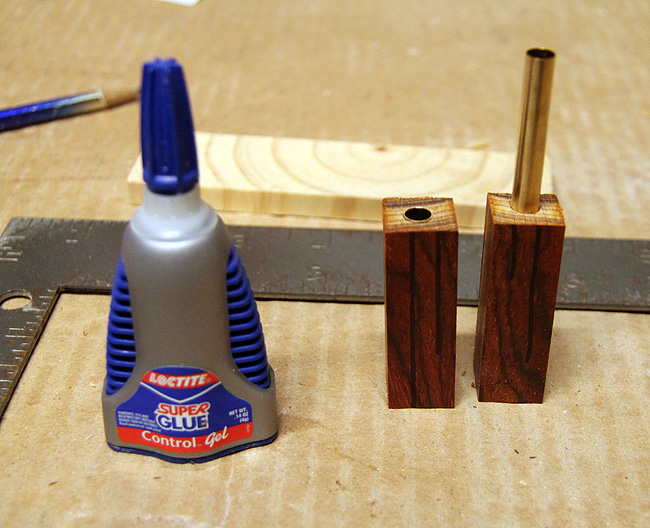
Next, I glue brass tubes into both the top and bottom using quick setting super glue.
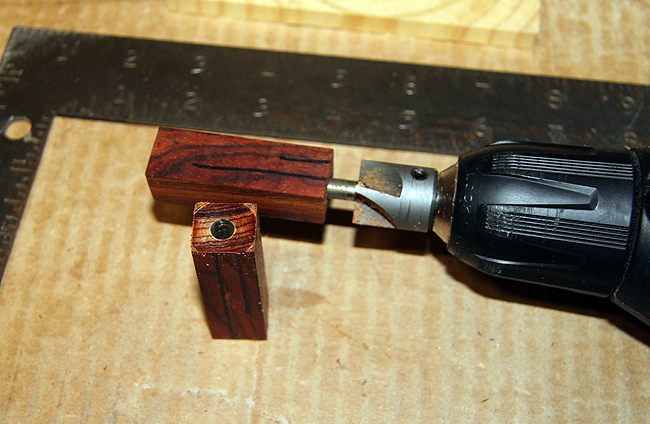
Finally, a hand drill with a pen mill bit is used to square off the ends relative to the brass tube. This ensures that the ends of the pen are flush with the metal pen parts during assembly. You can see the circular cut left by the pen mill in the photo.
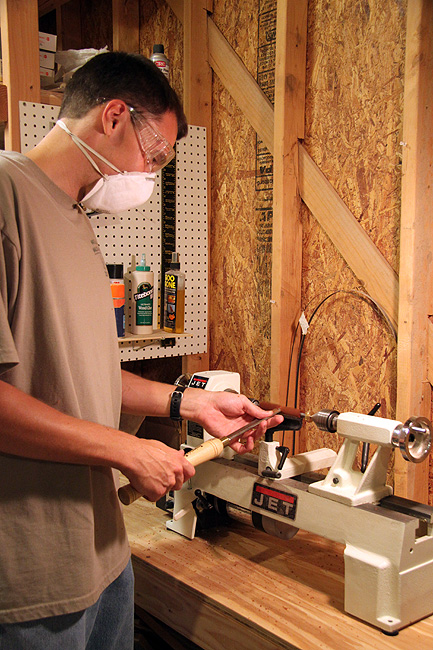
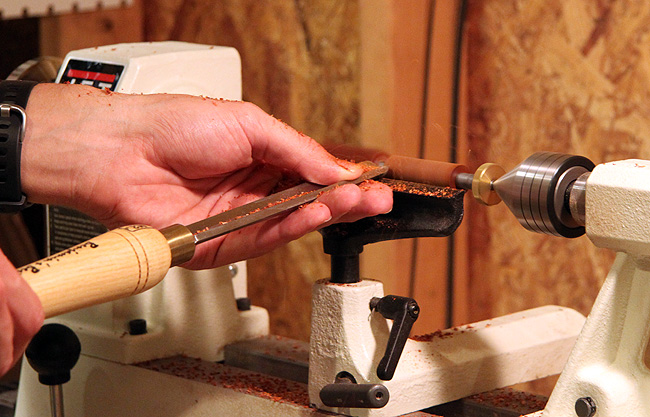
Turning the Blanks on a Lathe
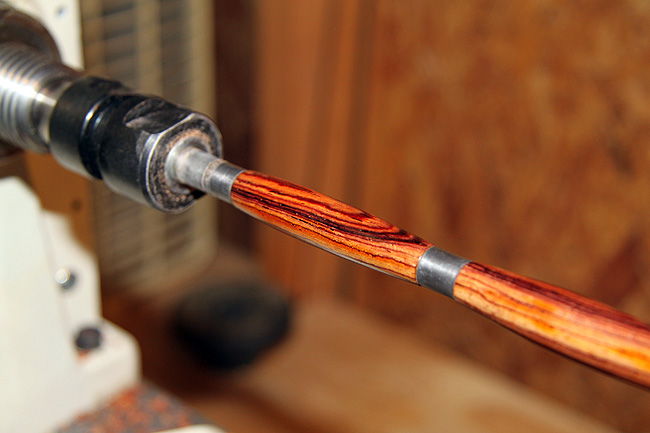
Turning the blanks starts by placing the blanks on a mandrel and into the mini-lathe while making sure the grain is still lined-up correctly.
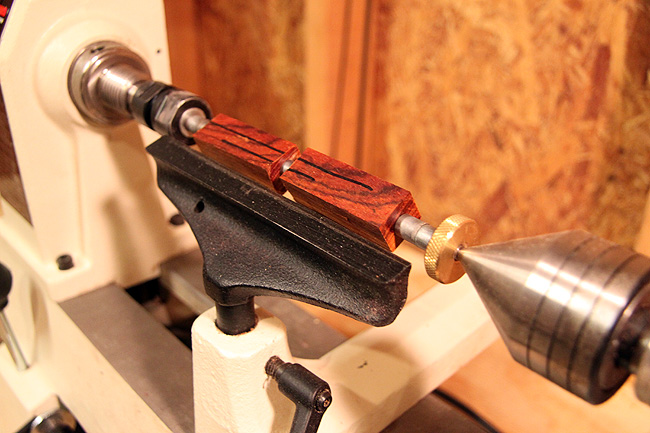
After the blanks are secured and the lathe speed is adjusted, I shape the wood as it spins. This is the part that is the most fun!
Video:
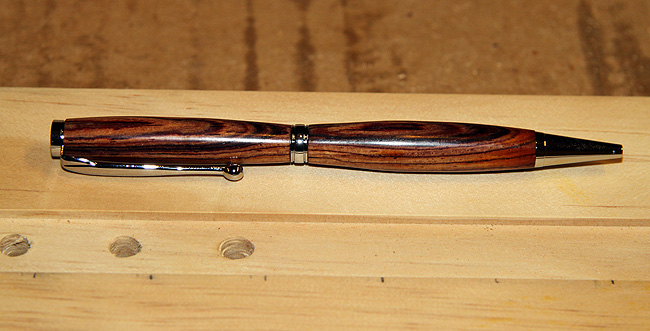
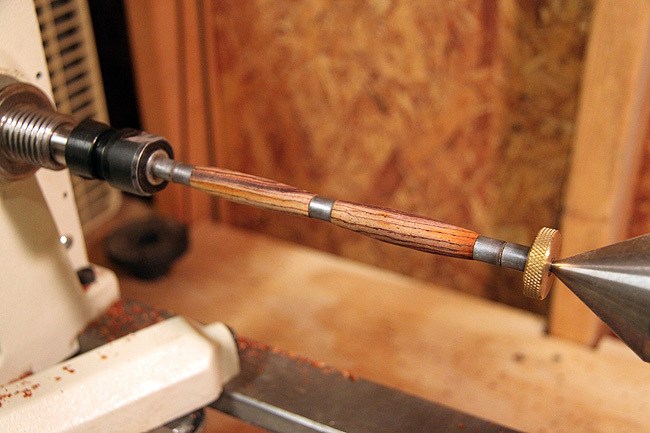
This is the result after all the shaping is completed:
Sanding and Finishing
I sand the wood starting at 100 grit all the way to 2000 grit.
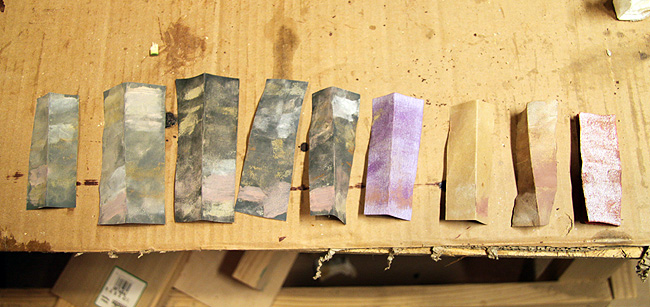
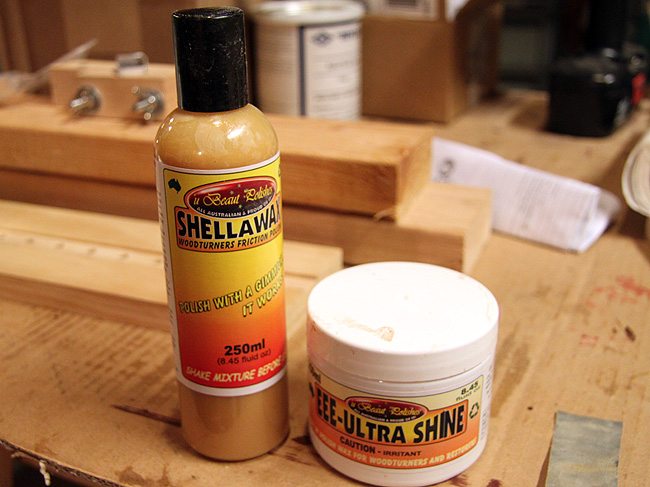
After sanding I polish the wood with a paste wax containing Tripoli powder and then apply a couple coats of a shellac-based friction polish. The polish is applied at a high speed which helps it cure quickly -- the pen is dry to the touch after finishing this step.
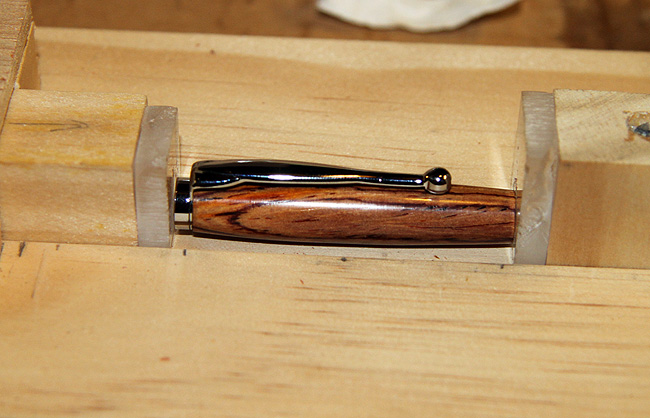
This is the result after sanding, polishing, and finishing:
Pen Assembly
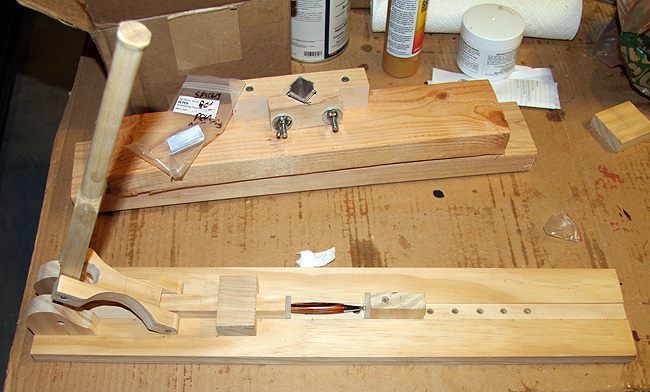
At this point all that remains is the final assembly. During this part care is again taken to ensure the grain alignment is maintained. To assemble the pens I created a press from some scrap wood. The first part assembled is the nib (the writing end) and takes quite a bit of pressure from the press.
The twist mechanism is then pressed into the opposite end.
Next the end cap and clip are pressed onto the other piece of wood.
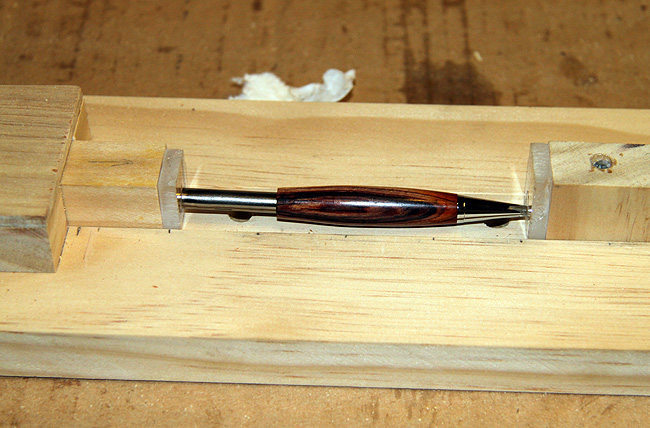
Finally the center band is placed on the twist mechanism, then an ink refill is added, and the two halves of the pen are pushed together by hand so that the grain lines up when the pen is closed. The pen is complete!